Carpet

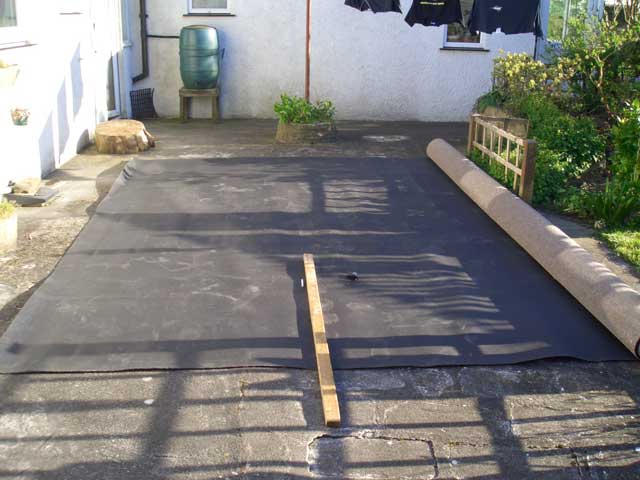
I marked out all of the panels on the carpet and cut each out. I left 50mm excess on each side. Contact adhesive was added to the ply lined walls and the back of the rubber backed carpet. After 10 minutes of drying the carpet was quickly and precisely pressed up against each wall and the ceiling. Only the inner 90% was glued. After each panel had set, it was trimmed and the edge glued.

I marked out all of the panels on the carpet and cut each out. I left 50mm excess on each side. Contact adhesive was added to the ply lined walls and the back of the rubber backed carpet. After 10 minutes of drying the carpet was quickly and precisely pressed up against each wall and the ceiling. Only the inner 90% was glued. After each panel had set, it was trimmed and the edge glued. The ceiling was cut into three strips and done one at a time, to avoid any mistakes. All went well.
Carpet

Posted by Darren

I'm a huge campervan enthusiast, and the maker of CampervanLife.com. I believe everyone can convert their own campervan, and enjoy a great lifestyle with it.

Leave a Reply

Your email address will not be published. Required fields are marked *