Fitting windows to your campervan conversion is one of the best finishing touches to change it from a van into a campervan. This guide lays out the best positions, different window types, and how to fit windows to your van.
Having windows in your campervan gives more light and more ventilation. This is great if you are going to be spending large amounts of time in your camper van, especially in warmer weather.
A confident DIY’er or campervan converter can fit any type of window themselves. You can also pay an expert to fit the window for you. Many DIY converters prefer to pay someone to fit the window for them as getting the fitting right is really important, and mistakes are hard to fit. Fitting doesn’t take long, so fitting can be be done in a single visit to a specialist.
Adding a window to the sliding door of your van is particularly useful as it allows you to see traffic coming from that side when pulling out of junctions.
In the UK the DVLA requirements for registering a van as a campervan include the inclusion of side windows.
Where to put your windows
Delivery and cargo vans have specific pressed flat panels which are actually blanks when the vehicle is converted as a mini-bus. These panels are the perfect place to add windows. They are flat and avoid any of the structural sections of the van, which are tricky or impossible to remove.
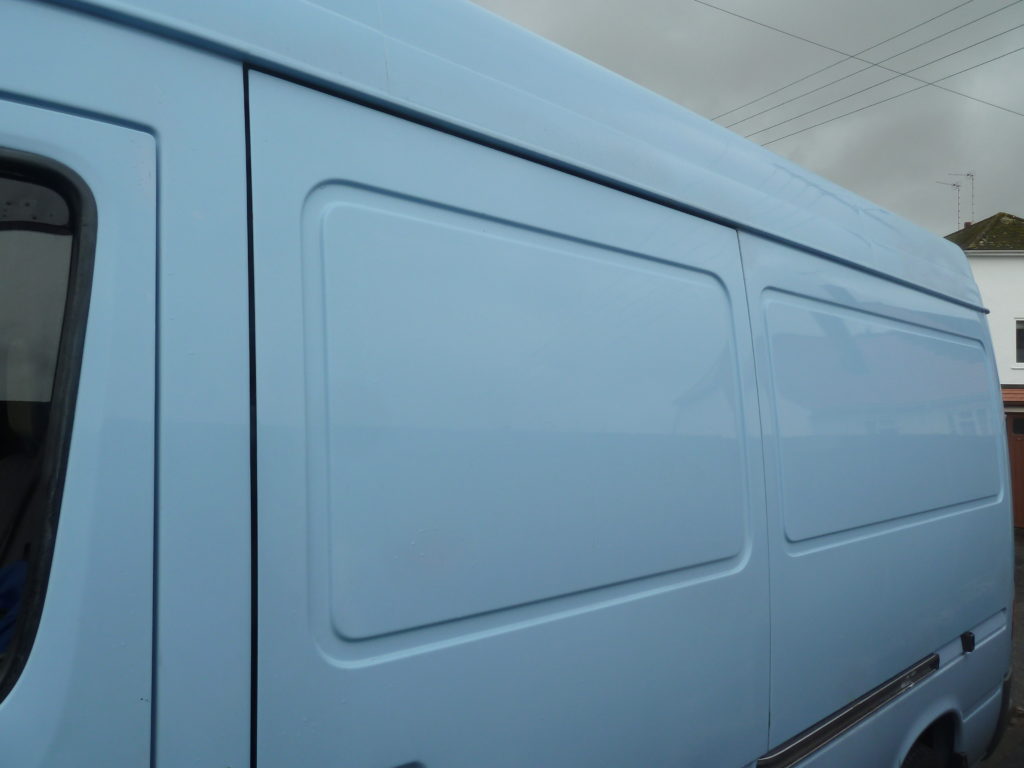
Depending on the type of van and layout inside the rear doors can also be a good place to fit windows.
If from the cab you can see through to the back doors of your van, windows in the rear doors make it easier to see vehicles behind you, as well as adding light to the living area. Darren’s White Mercedes Sprinter Conversion did have windows in the rear doors. By adding a rear view mirror to the windscreen it was possible to see right through to the back.
On Darren’s blue and silver Sprinter a side window as added to the sliding door and the same panel on the opposite side.
Types of window
There are several types of window used in camper vans:
Bonded windows
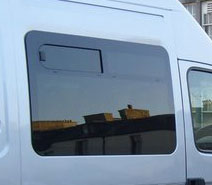
Bonded windows are the new sort of factory fitted window used by van manufacturer since around 2001. They are made of glass or plastic. They are normally attached to van by a very adhesive strip that sticks to the outside of the van. Bolts, clamps or screws are not normally used. They have a very flush fit, keeping the same smooth lines as the van exterior.
Bonded windows tend to give a larger field of vision, as the edge is small. They often open by swinging upwards, hinged at the top like a caravan window. This allows the window to be opened up to allow air in.
Bonded windows are available for most modern vans. The come in exact sizes for your vehicle, as the vehicle will have panels ready to take these windows.
Fitting bonded windows is not easy. They are also very expensive. Expect to pay £200+ for a side door window for a Volkswagen T4 or T5.
Rubber-mounted windows
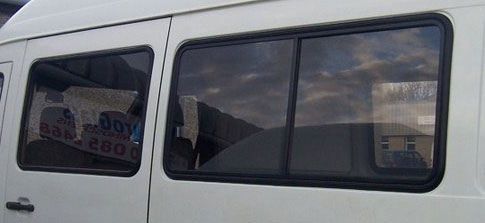
Rubber-mounted windows are the older, more traditional style of van or campervan window. They are much cheaper than bonded windows, and I would generally recommend most camper van DIY’ers consider this type if window. Rubber-mounted windows are almost always made of a flat sheet of glass.
The glass window sits in a large rubber frame. This frame slots in the hole in the side of the van. Rubber-mounted windows don’t open up, as they are not hinged. Most don’t open at all, but you can buy versions with a sliding section, that allows air to travel in.
Rubber-mounted windows are the recommended type for most DIY’ers. Prices start at about £70 for most vans, expect to pay about £90 for windows that open.
You might be able to find used rubber-mounted windows at van breakers. They may still be fitted to the van. Mini-buses are obviously full of them. Using an angle grinder to cut the metal around the window is the easiest way of removing a window from a scraped van.
Caravan windows
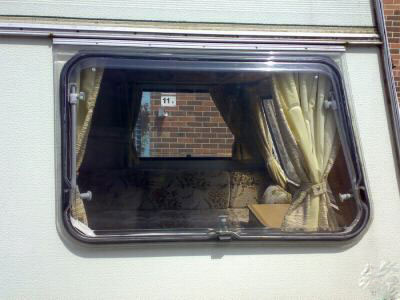
If you are looking for really cheap windows, or already have a donor caravan, then consider using old caravan windows. Caravan windows come in different styles, but most are of the clamp-style, where there is an outer part of the window, that goes outside the van, and an inner part of the window which goes inside. The two parts are held together by bolts that pass through the van wall.
Fitting caravan windows can be the easiest of the lot, however the window will be designed to fit a certain thickness of van wall, i.e. the caravan wall. The thickness of your campervan wall will have to match that of the caravan.
Most van walls are only a few millimeters thick, so you need to pad the inside of the van wall. If you have insulated your van then you already have a padded interior, and caravan windows may fit well. Always measure both your van walls and the caravan wall before buying or trying to fit.
Caravan windows can be found cheaply on eBay, from the local newspaper or from caravan breakers.
Seitz windows
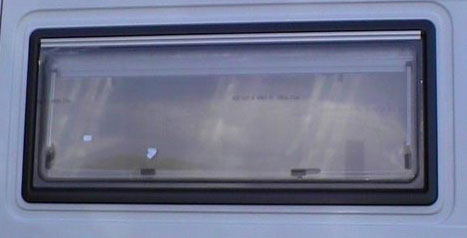
Seitz are a manufacturer of window, rather than a type, but they are quite distinct so I have listed them here. Seitz make perhaps the best campervan windows there are. They are used by most professional conversion companies.
Seitz windows are a complete unit. They contain the inner frame fitted to the van, a window pane that normally hinges up like a caravan window, a fly screen that pulls down, and a roller blind that pulls down. The whole unit is very well made and a very neat complete product.
Seitz windows are expensive. Expect to pay £200+ for a single small window. If you can afford these windows then I highly recommend them, as they are very neat.
Buy windows for your camper van
| Image | Title | Price | Link |
|---|---|---|---|
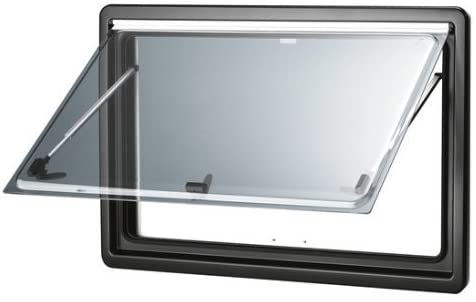 | Seitz Dometic S4 Hinged Window The ultimate window for camper van conversions. | £450.00 | Buy |
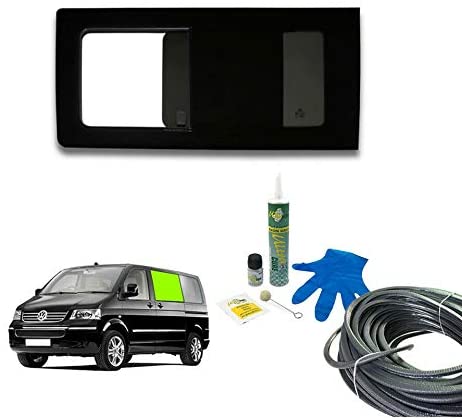 | VW T5 / T6 LEFT Nearside opening Privacy Window Opening privacy window with fitting fit. | £195.00 | Buy |
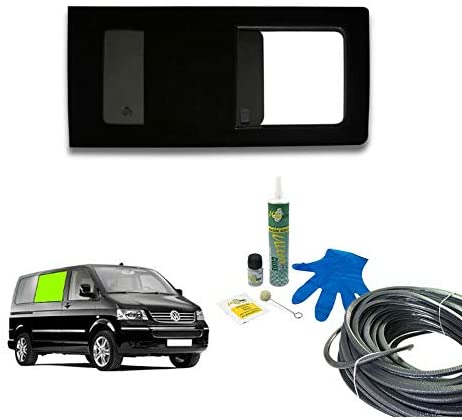 | VW T5 / T6 RIGHT Offside opening Privacy Window Opening privacy window with fitting fit. | £195.00 | Buy |
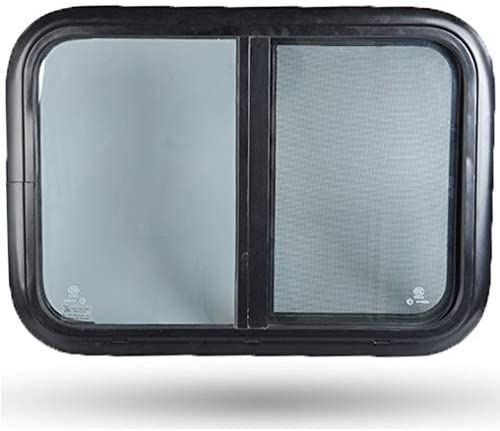 | Shield Autocare Sliding Window A complete sliding window system, with blind and fly-screen. | £175.00 | Buy |
Fitting campervan windows
OK, so you’ve chosen and bought your windows, now it’s time to fit them. Before you start cutting holes in your van check you have everything you need. You don’t want to leave the van overnight with a big hole in it whilst you wait for a tool, etc.
Disclaimer: This information is intended as a guide to help you fit windows. I will take no responsibility for any damage caused to you, your vehicle, your windows, spouse, or relationship should anything go wrong. You are responsible for this task alone.
What you need
Window fitting products
| Image | Title | Price | Link |
|---|---|---|---|
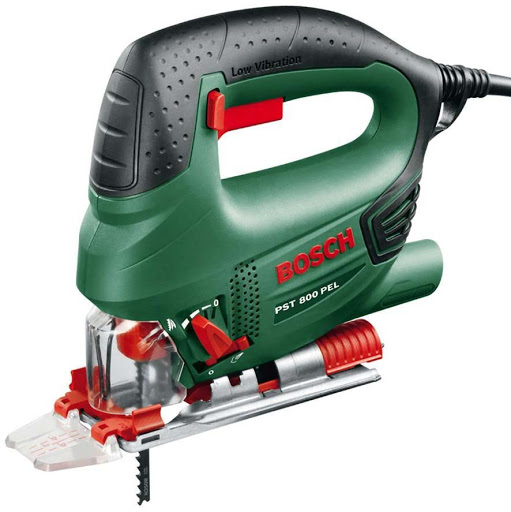 | Bosch PST 800 PEL Jigsaw An excellent multi-purpose jigsaw which is great for cutting wood and metal panels when fitting widows or roof vents. | £56.00 | Buy |
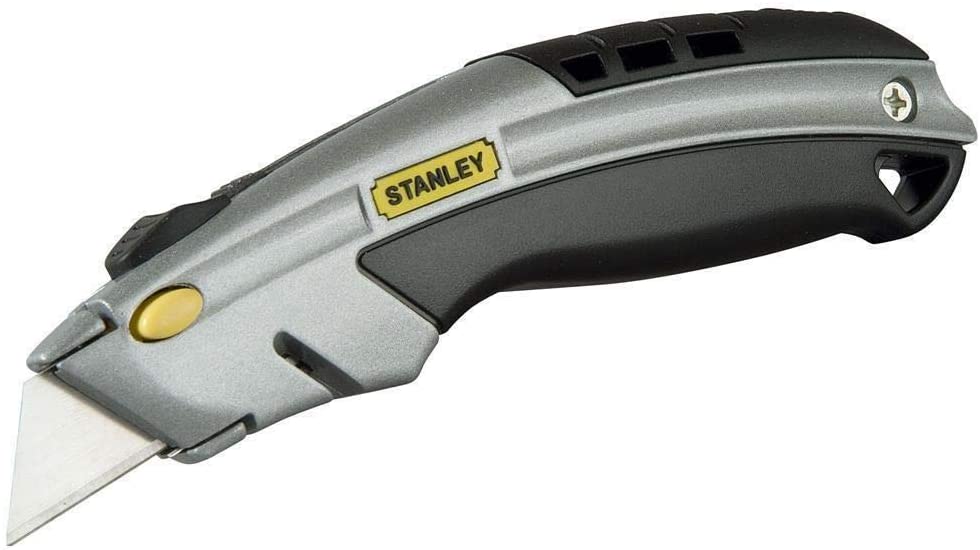 | Stanley Dynagrip Instant Change Knife Excellent Stanley Knife which quick change blade. | £11.00 | Buy |
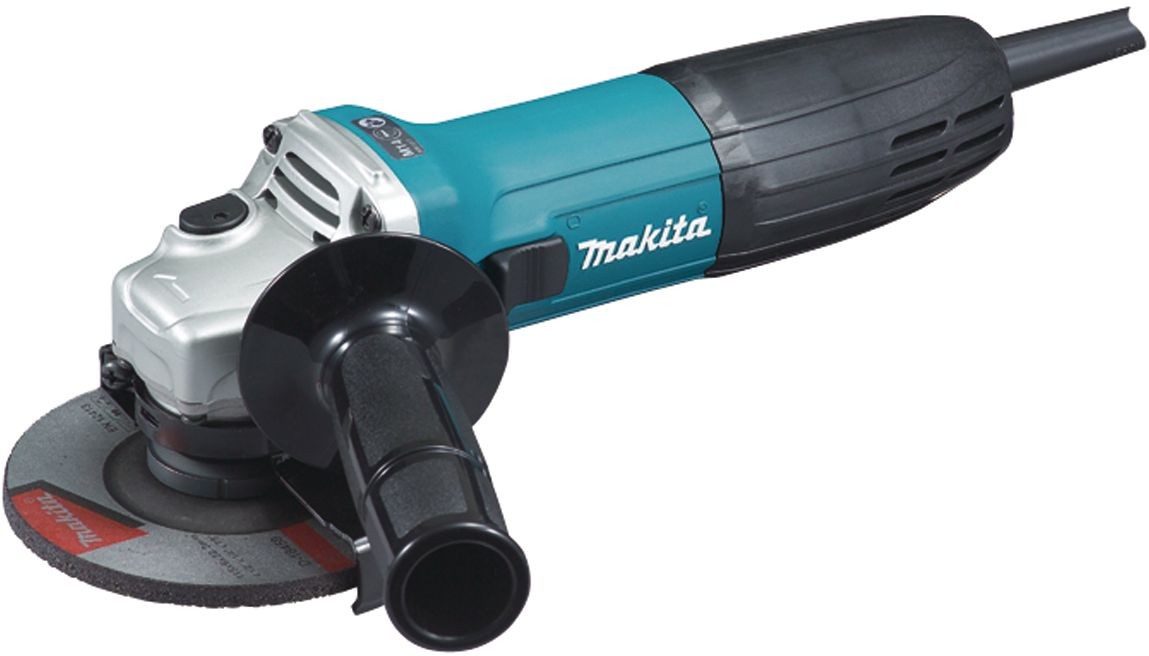 | Makita GA4530R Angle Grinder Slide Switch, 115 mm, 240 V High quality angle grinder which is perfect for cutting and trimming metal | £49.00 | Buy |
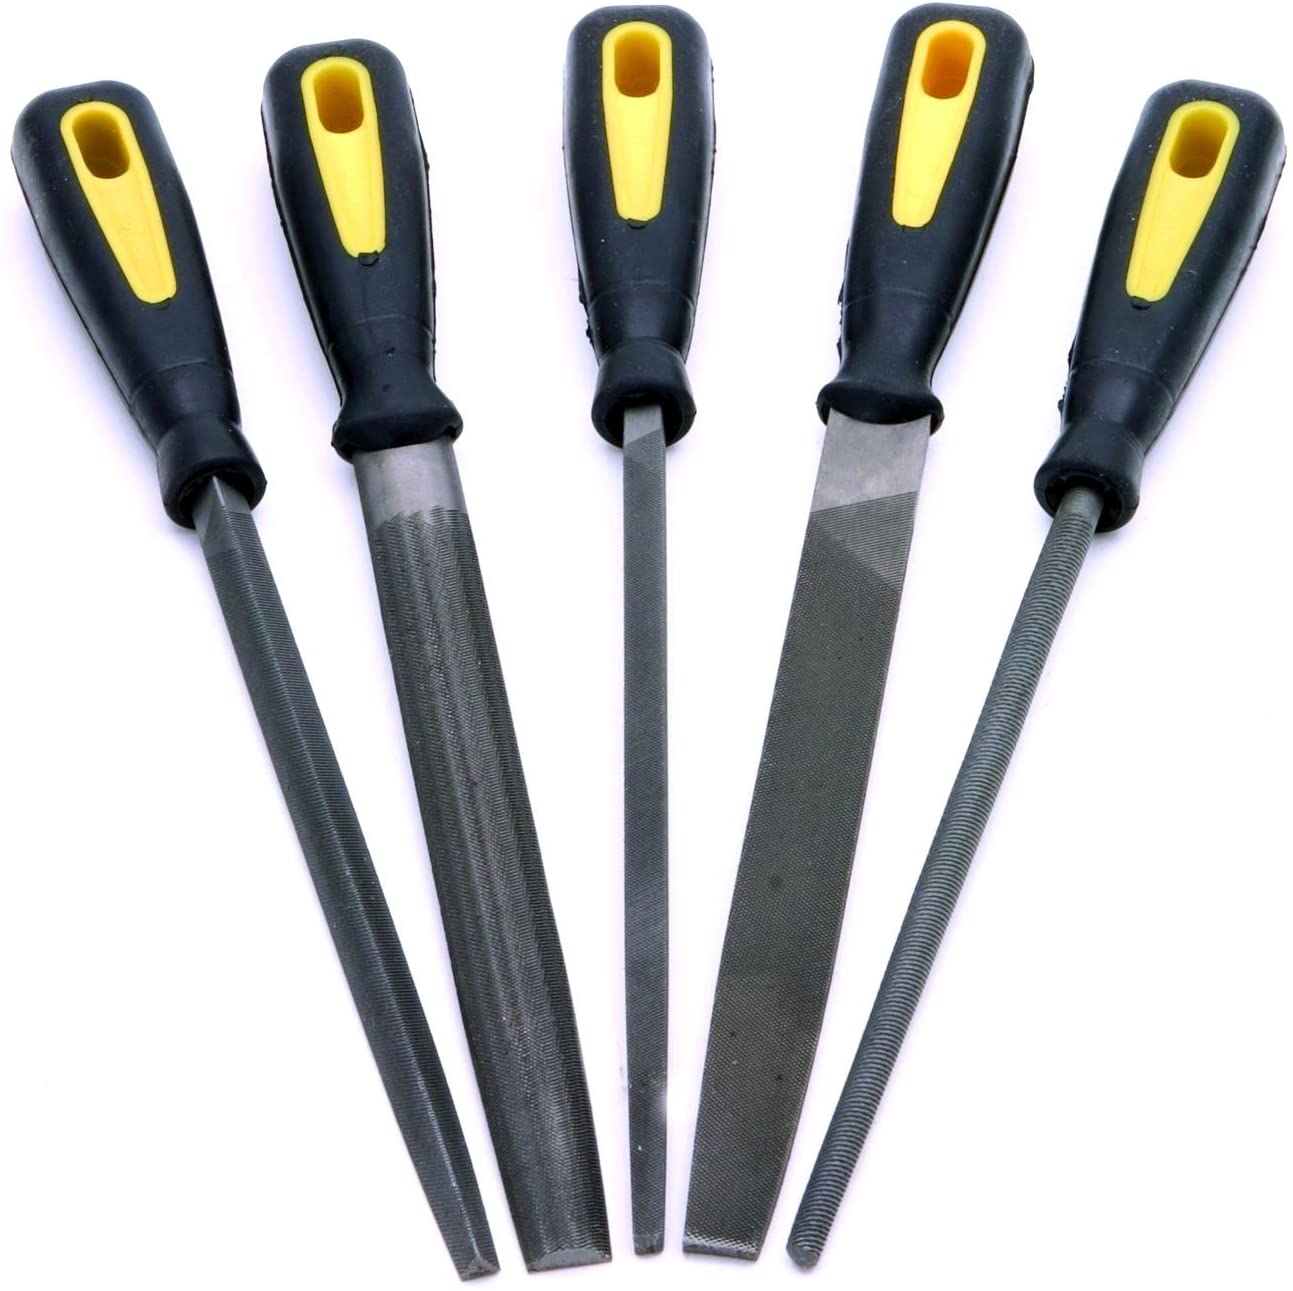 | Rolson 24727 Engineer File Set – 5 Pieces Nice selection of flat and round files for metal work | £9.00 | Buy |
 | 3M Virtua Safety Glasses, Anti-Scratch, Clear Lens Protective but lightweight safety glasses | £3.00 | Buy |
- A window
- All the parts needed to hold the window in place. If you have bought a kit, you should have everything you need. But check you have the window, rubber or plastic frame, sealant and bead tool for rubber mounted windows. Bead tools are really important for rubber-mounted windows, as it makes life much easier. Windscreen sealant is perfect. It is more flexible and remains flexible after setting, unlike silicon sealant which sets hard. Use a sealant gun to apply.
- A jigsaw – with lots of metal cutting bits. You are likely to break quite a few bits. Using a hacksaw is not really an option. You need neat straight lines.
- An angle grinder – useful for removing struts in the side door, but is not essential. Borrow one if you don’t have one.
- A metal file – for removing sharp edges after cutting the hole.
- A sharp knife – such as a Stanley knife
- Paper or cardboard – for making a template. Your bought window kit should come with a template already.
- Paint – to paint over the exposed bare metal, to stop it rusting.
- Blu-tak – for holding the template in place when you cut.
- Safety goggles – when cutting the metal. Seriously, you should use them.
Whatever the type of window you have, the fitting process is generally the same. I will go through each step, adding variations depending on the type of window you have.
Important: If you are going to insulate the inside of your van, then I highly suggest you fit the windows before insulating the van. Fitting the window without the insulation and inner wall present is much easier. Also, cutting a hole into the newly added inner wall, to allow the window light through, is very difficult if you do not know where the window is on the other side. You can measure, but it is difficult. You also risk breaking the window.
Tip: before you cut any holes, read this guide, get everything you need together, read the guide again, do a practice run, and then go for it……
Lets get started
- Create the template
You need a paper or cardboard template to cut around, when making the hole in the van. If you have bought a window kit you should already have a template. If you don’t then place a piece of cardboard flat on the floor. Place the window in the middle of the cardboard. Draw around the window. The hole, and template, needs to be bigger than the window as the frame will sit in the hole, and the window will sit in the frame. Draw a new line around the window shape adding the extra space required for the frame. If your window does not come with instructions indicating the extra space needed, you will have to work it out. Rubber mounted windows generally required 7mm. But you need to be sure of this. You cannot make the hole you have cut in the side of your van smaller.
If you need 7mm or extra space around the window, your template should be 14mm wider than the window. Double measure everything. Remember: measure twice, cut once.
Cut around the outer line of your template with a sharp knife. Don’t cut yourself of the kitchen carpet. - Preparing the van
Choose where in the van you are going to fit the window.
Tip: if it’s your first time fit the window to the sliding door. If it goes wrong you can at least buy a new sliding door. Replacing a side panel of the van is not really an option.
Most vans have panels where windows would be fitted if the van were a mini-bus. This is the best place to fit the window. These panels have struts running up and down to prevent the panel bowing out when driving along.
You need to remove the struts from the inside. An angle grinder is the best tool, but you can also use a hacksaw. Cut the struts at the top and bottom, and then remove the strut from the metal. Be careful no to cut anything other than the strut. - Cutting the hole
OK, now the important bit. Position the template inside the panel you are going to cut out.
Take care to position it in the middle, measure the edges to make sure it is level and center.
Blu-tak the template to the panel, so it holds itself there.
Now have a cup of tea/coffee and stare at the panel. This is your last chance to change anything before you start cutting holes in your van.
Use a drill to drill a hole inside the template, near the edge, so that you can insert the jigsaw blade.
Using the jigsaw start cutting from the hole, towards, the edge of the template, and them very carefully and slowly cut around the template. Take your time. Take extra care when cutting around the rounded corners. A jigsaw is very good at this task, so just be patient. Take a break if you need to, you don’t have to make the cut in one go.
After every 30cms or so, stop cutting and add thick masking-type tape to the inside and outside of the van, where you have just cut. This will hold the loose metal panel and stop it flapping when you cut the rest.
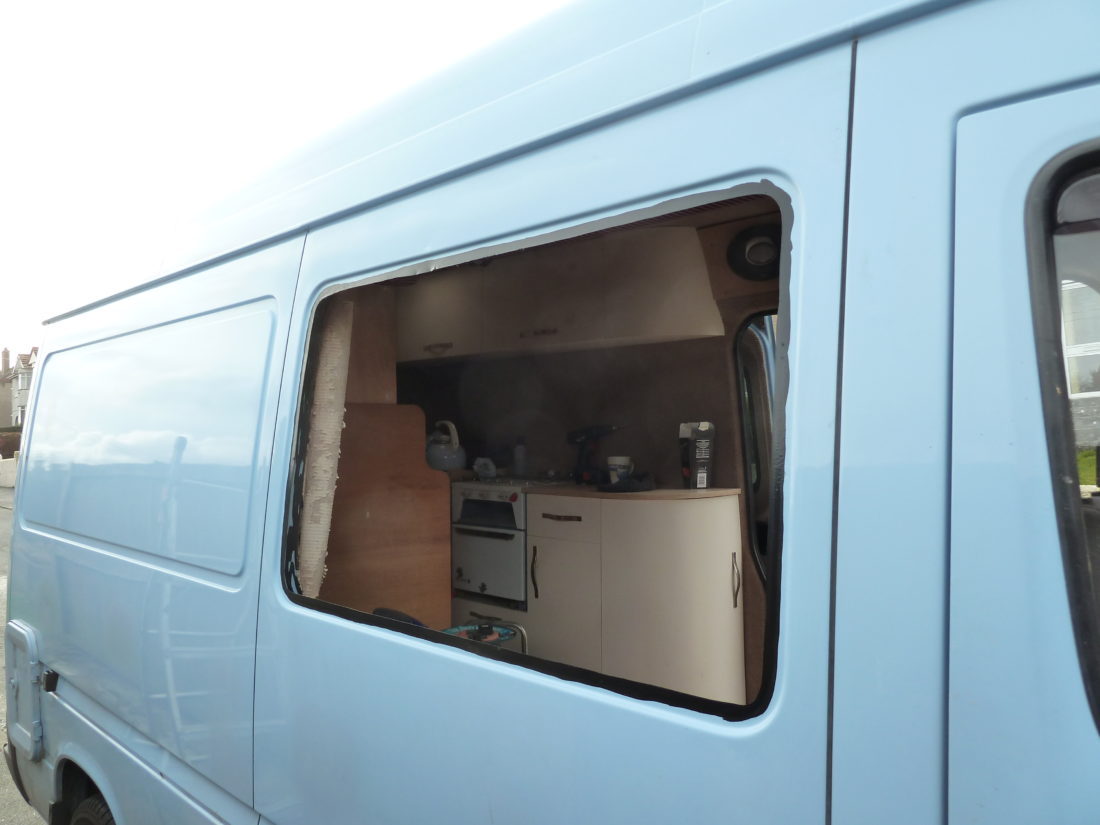
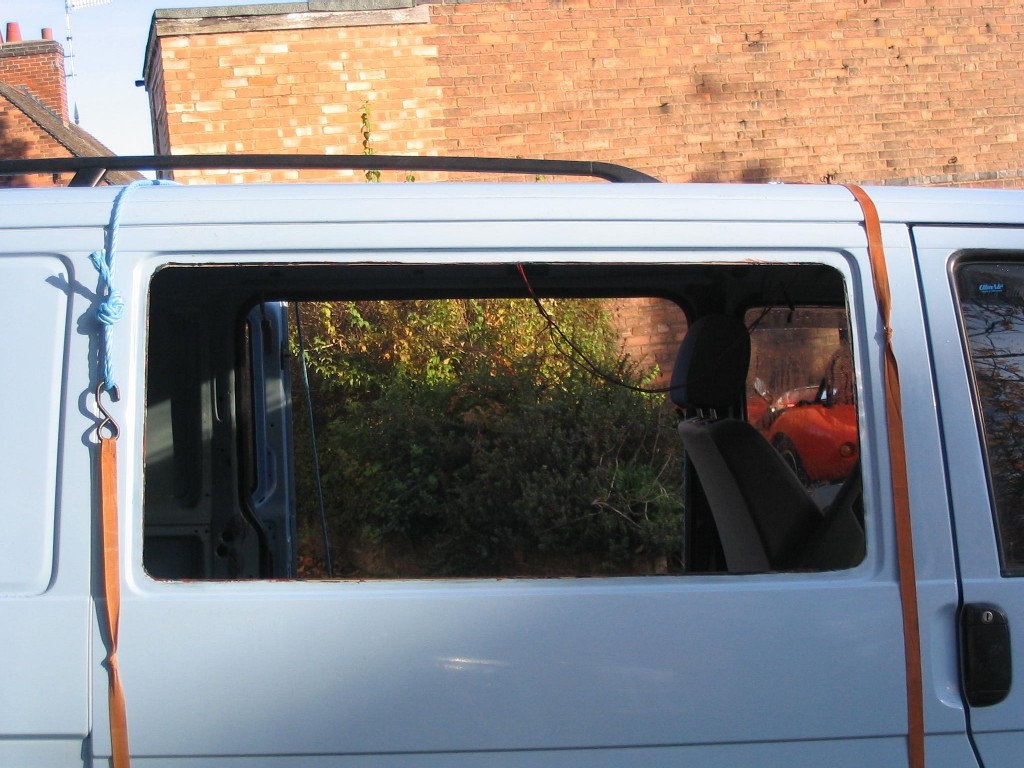
Once the panel is free, file down the rough metal edges.
Measure the hole again. If it is too big then…. well…. sorry, you’ve done something wrong…. But if it’s correct then you’re ready to fit the window.
Before you do though, paint the exposed metal edges. You need to stop the edges from rusting. - Fitting and sealing the window
If you have a rubber-mounted window you need to fit the rubber frame into the hole. Cut the rubber frame to the right length, making it slightly too long to allow a neat butt finish. (remember you can cut some off, but can’t add some on). Slot the rubber frame into the hole, trimming the end if necessary. Now slot the pane of glass into the rubber frame. This isn’t the easiest job and having someone to help makes a big difference. Careful now as the window can just fall out. So, using the beading tool, and a bucket of warm soapy water, feed the beading between the rubber frame and the window. This will secure the window into place.
Now lift the rubber frame away from the van edge and squeeze sealant between the rubber and the van wall. This will seal the window to the van, stop rust forming and reduce vibration.If you have a caravan or Seitz window slot the whole window frame into the hole from the outside of the van. Add any sealant required to make it fit securely. Once tight add the back part of the frame from the inside of the van. Now add and tighten the bolts/screws to secure the inner and outer parts of the window frame together. You can unscrew and remove the frame if necessary, if you need to add more sealant.If you have a bonded window stick the windows adhesive edge to the outside of the hole you have made. But, make sure you get it in the right position, as you won’t be able to move it once it sticks on! Add the interior frame from the inside, should you have one. - Finishing up
Now the window is fitted take time to ensure you have vacuumed up all of the metals fillings and other debris that have come from the van wall. Those filings rust really quickly and will cause other metal to rust.
Also inspect the outside and inside of the window frame adding any sealant where necessary.
If you are not happy with the finish you can remove the window/frame and try to fix and issues. Better to get it right the first time though!
OK, so you’ve fitted the window, and it’s looking good. Well done, this is perhaps the most daunting job when converting a campervan. Go get a cuppa, you deserve it :o)



Hi
A beginner here. Just a quick question. Would it be possible to install one of these windows to the roof as a sky light?
Good analysis. One point I would add; if you need to use an angle grinder, cover up all paintwork in the area with a tarp or blanket, something like that. The sparks from an angle grinder are red hot, they melt into paintwork then rust furiously. And they will also melt into your skin and eyeballs.
No mention of how to fit windows to vehicles sides that are often curved.
Any insights on this?
Hi
I would like to fit a sliding glass window on my landcruiser ute single cab at the back of the driver and pasinger seats its 79 series 2005 the old shape
Fitting windows to van
A video of the process from start to finish would have been really helpful. Often just following a written instruction isn’t always clear. Ive just had a professional fit a bonded window into the sliding side door of my Mercedes Sprinter but will contemplate putting others in myself and a video would have provided me with some much needed insight and confidence.
Windows
Hey,just wondering if any one knows the rules on fitting windows yourself?? seen a few write ups saying you need a certificate? if so can you have them tested to get the certificates after you have installed them? seem to be getting some high quotes back on companys to fit them. cheers.
Hi Scott
I do not believe you
Hi Scott
I do not believe you need a certificate to fit them. It is definitely worth phoning around as there are some cheaper companies out there.
Beading tool
whear can I buy a beading tool. I need to remove fix and replaceMy campervan windows..Keith
window in boat
i am mounting a glas ,maybe plexaglass in precut hole in fiberglass boat so if i have size or buy a certian lenght of rubber to fasten glass in hole of fiberglass ,i think it would be like a van ,but since it is not a van what trouble ccan i run in to?
Plastic mounted window
Hi, I thought i bought a rubber mounted window but alas it arrived and it is plastic, to be precise it is an ldv slinging locking window, quite large. so can anyone advise me how to secure it in, its quite big will glue and sealant really work? its one of these :http://www.ebay.co.uk/itm/110854688445?ssPageName=STRK:MEWNX:IT&_trksid=p3984.m1439.l2649
so the frame is larger than the window on the outside, but on the inside its just the size of the window- so i can push it in the opening but what holds it there? Unlike a rubber mount there is nothing to fit around the van wall and hold it there, and there are no holes for screws so i don’t think that is the intention.. Any advice would be great! Its a fibreglass luton box too so slightly more complicated- i’m making a frame to go on the inside so that the walls thicker.
cheers,
Nicole
Fitting windows
Link to here under fitting bonded windows, but, why a description only of fitting rubber mounts. No information on fitting bonded, just a comment on that they are expensive – no help at all
DIY window fitting
Great piece on window fitting to panel vans.
I’m about to do just this to my own van & it’s taken some of the fear out of that first cut into the metal.
vw
im looking to get my windows cut out in my van can you tell where i can get it done in birmingham please
hi looking to convert a ldv
hi looking to convert a ldv maxus seen a van with marni stamped on to the exteriour panal around the window , do u know of suppier of this product regards tim
Hi. Just wondering how your
Hi. Just wondering how your conversion is coming along? I have just bought a Maxus. Want to convert myself. Where are u from? There is a a website that does bonded for he maxus. Do you still want them? David
Try the eBay box above. Have
Try the eBay box above. Have you tried finding local suppliers. They are normally your best source. Try searching in Google to find suppliers in your area, and also try caravan/motorhome suppliers.
rubber mounted windows
hi there,
we are just about to start converting our camper. we are looking out for windows and came across your website (which is great by the way). can you give me an idea where you can get both the rubber mounted windows and the bonded. we have seen a few places but they are more expensive that what you have said above. thanks a lot…..ursula